+2712 88 00 258
Sage 200 Evolution – Tip & Trick – How to print the number of Item units to be confirmed on a placed Sales Order not yet processed.

Following below is the process on how to print the number of Inventory Item units to be confirmed (Confirm Qty) on a Sales Order that is placed and not yet processed in Sage 200 Evolution.
To explain further, consider the below scenario:
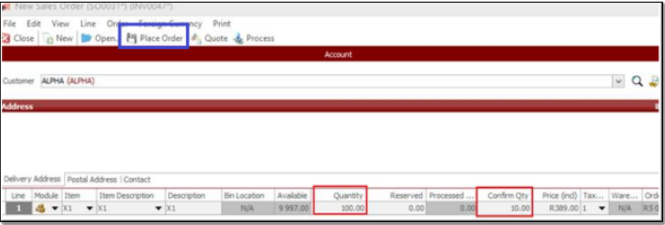
Step 1 – Capture a new Sales Order as below and then click the Place Order button.
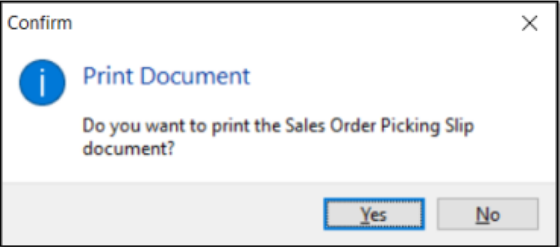
Step 2 – Click Yes on the printing prompt message that is now displayed.
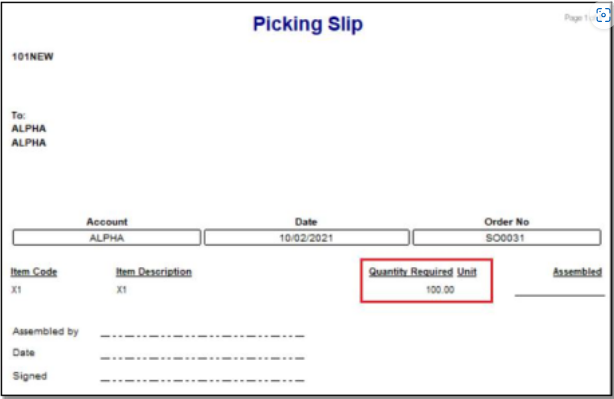
Step 3 – You will notice below that the above captured Confirm Qty value (10) is not displayed on the Picking Slip below. Instead, it prints 100 units which is the Quantity, and not the Confirm Qty value as entered above.
Step 4 – If you now process the Sales Order,
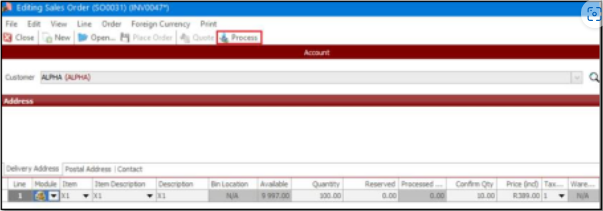
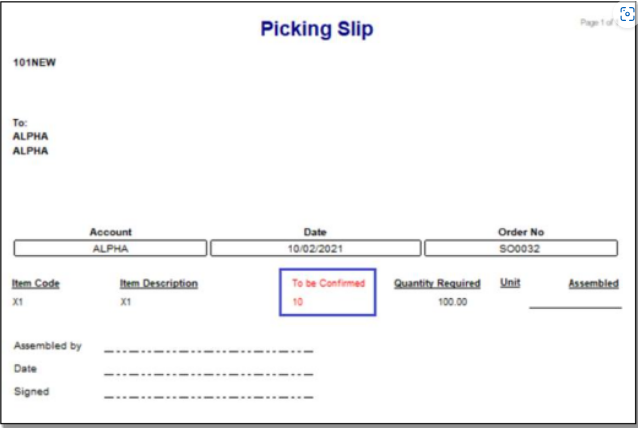
Step 5 – The 10 units captured under Confirm Qty above, is displayed below on the Picking Slip.
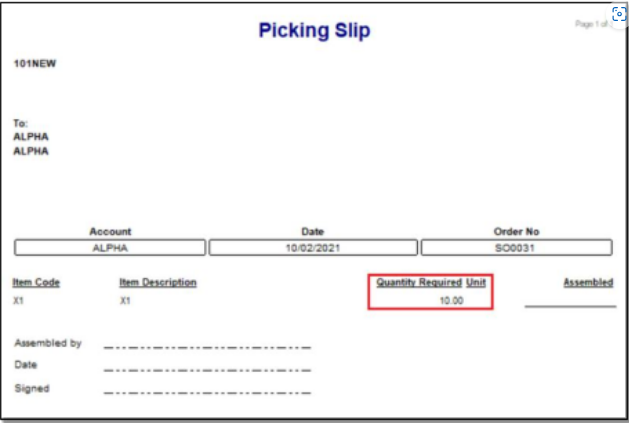
But what do you do if you want to rather print the 10 units on the Picking Slip when the Sales Order is placed, and not yet Processed?
For this scenario, consider the following and note that with this it is assumed that you know the basics on how to access and have basic report/document layout customizations skills.
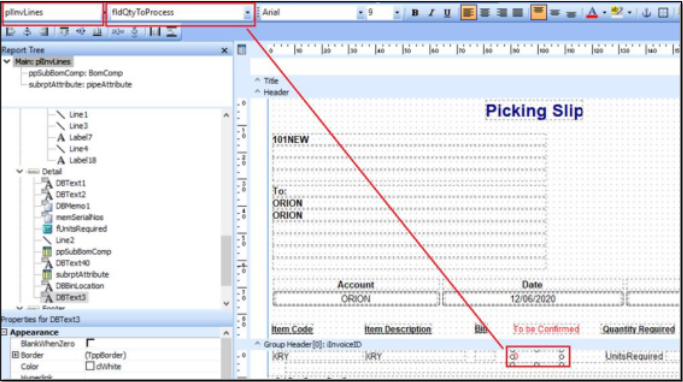
Step 1 – Edit the Sales Order Picking Slip layout.
Step 2 – Insert the following field as marked below.
Step 3 – Add an appropriate Field Heading.
Step 4 – If you are done, save your changes.
Step 5 – If not yet done so, select this customized layout as the default printing layout option.
Step 6 – If you now place the Sales Order as captured below,
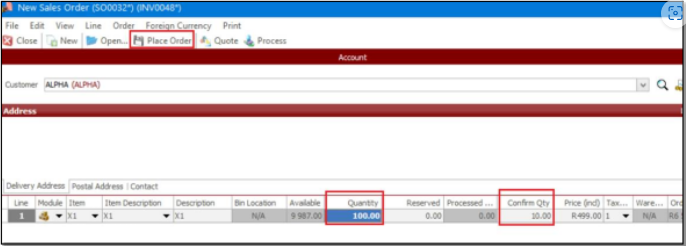
Step 7 – You should notice that 10 units display below on the newly inserted field, as expected.
